Good news and bad.
Bad News: I completely failed in my mission to create a Healthy Cinnamon Bun that still tasted like an actual cinnamon bun.
The problem is that an actual cinnamon bun really seems to be nothing without tons of butter and lots and lots of sugar.
Let’s put it this way: Meat-and-Potatoes-Guy and I ended up with a lot of healthier, more nutritious “cinnamon buns” that sat, uneaten, on the countertop until they hardened.
Yikes.
Really not good – just the idea of Freshly-Baked-Homemade-Cinnamon-Buns seems to raise expectations to a very high level of buttery, super sweet deliciousness. What’s the point of taking the time to make a healthier, lighter dessert if you don’t really enjoy it?
So I completely failed at that mission – for now anyway.
Good News: somewhere along the way, I stumbled upon something very delicious.
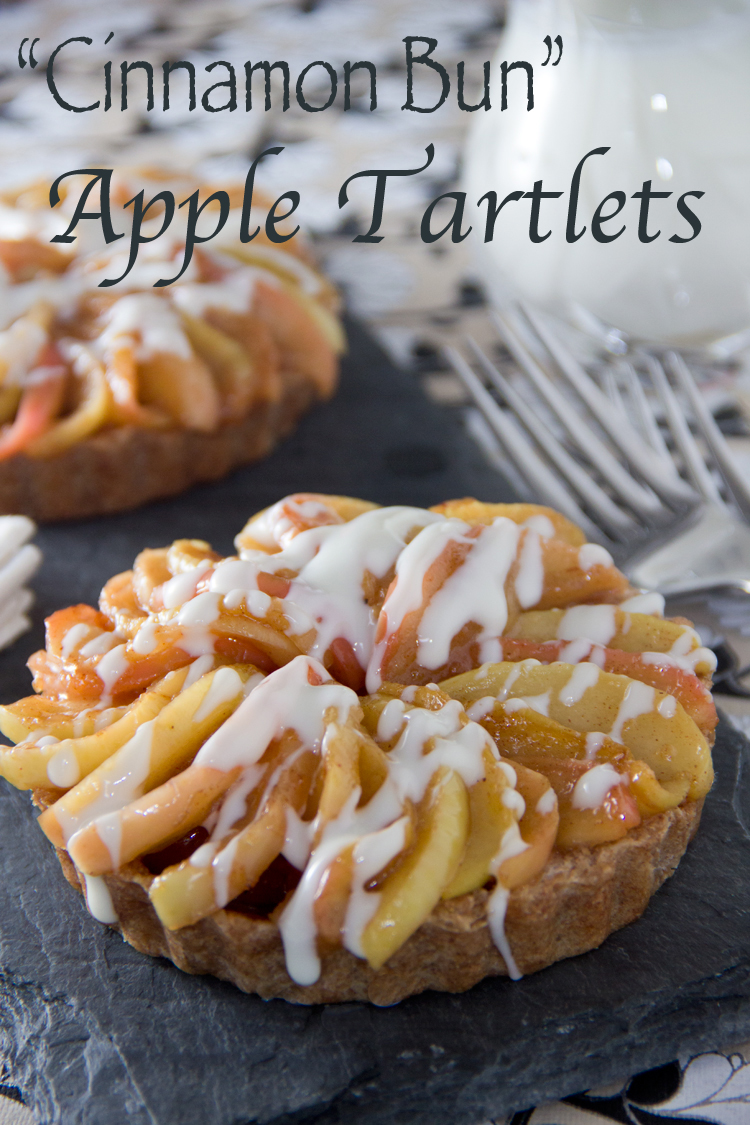
I made an apple tart, but with a “cinnamon bun” twist.
And I thought this was a perfect December treat, because it makes a classic cold-weather dessert a little more special and festive for the holidays: an apple tart with a cinnamon crust and a sweet, sugary glaze all over the top.

Cinnamon buns and apple tarts are two of my all-time favorites, so this little best-of-both-worlds dessert is the sweet, cinnamon-y silver lining to all those failed attempts.
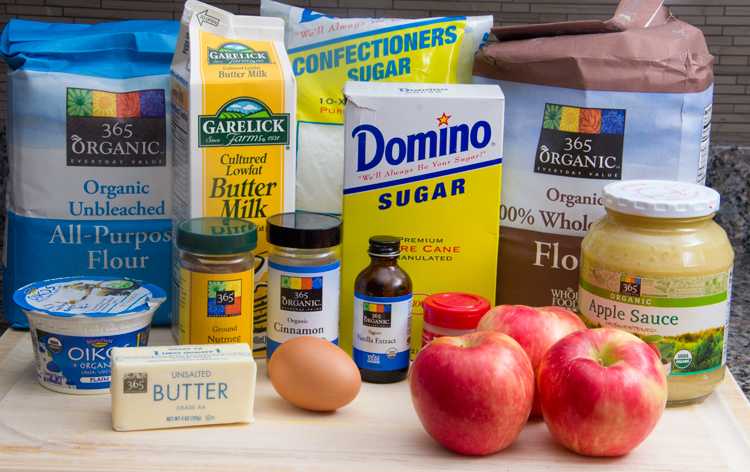
Here are most of the ingredients you’ll need to begin.
Now that I’m looking more closely, I see I’ve left off two things: 100% pure maple syrup and canola oil.
And now I’m looking even more closely, I see the ground ginger is completely covered by an apple, so much that you can’t even guess what it might be.
Moral: don’t look too closely at this photograph.
My apologies – I’ll add “taking better Ingredients photos” to my list of new year’s resolutions.

Begin by making the dough: crack an egg in a small bowl (so you can remove any eggshell before it’s mixed with lots of other ingredients).
And microwave a bit of butter for about 45 seconds, or until it’s just melted.
Healthier Dessert Side Note: Only 3 tablespoons of butter are used in this recipe. Most of the butter is replaced with lower-calorie, lower-fat, higher-nutrition unsweetened applesauce.
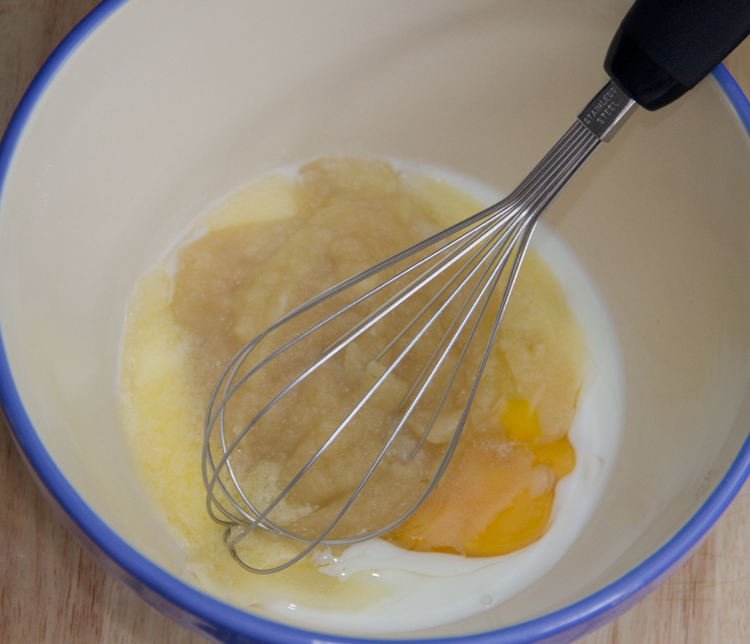
Grab a large mixing bowl and combine the following: some buttermilk, the egg and melted butter, some applesauce, and a bit of salt and sugar.
Whisk until everything is well combined.

Stir in some whole wheat flour.
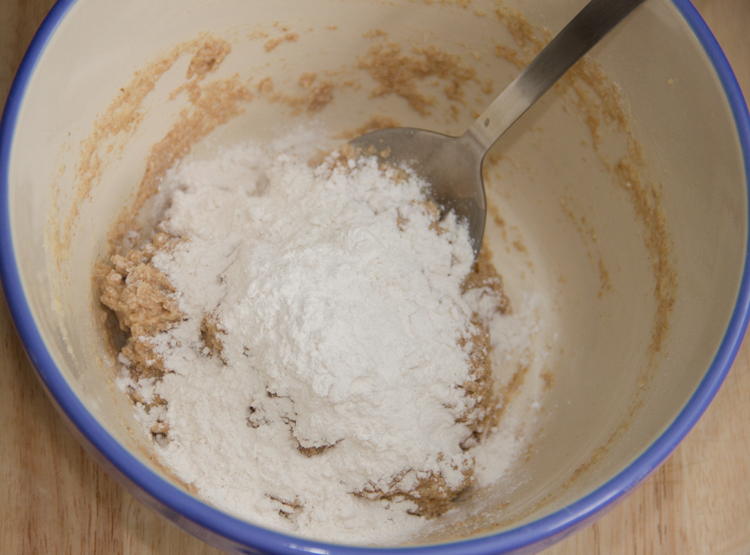
Then add a bit of all-purpose flour and begin kneading the dough with your hands.
Continue adding all-purpose flour, about a quarter of a cup at a time, just until the dough is no longer sticking to your fingers or the bowl.
In total, you should add in somewhere around 1 cup to 1 1/4 cups of all-purpose flour.
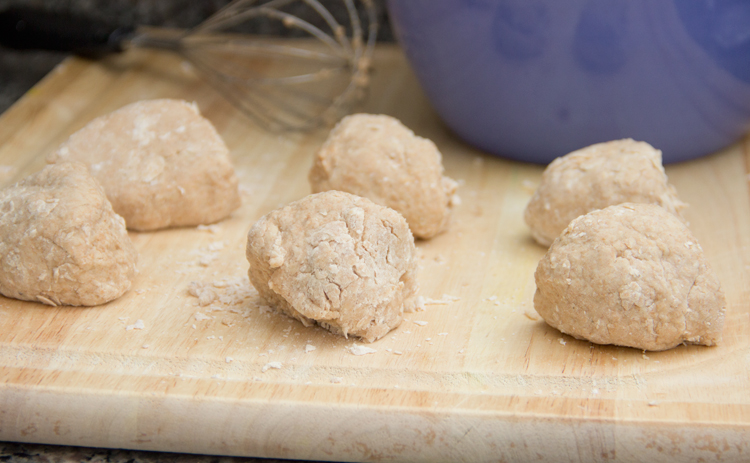
Press the dough on a clean countertop into a rectangular shape and divide it into six equally sized balls.

In another bowl, stir and combine some sugar and cinnamon.
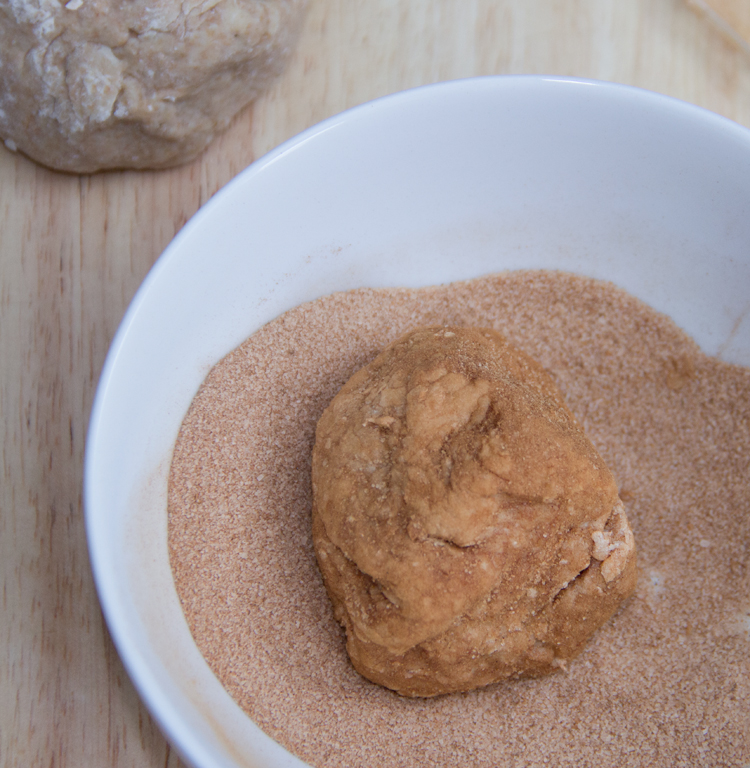
Grab the first ball of dough and roll it in the cinnamon-sugar mixture, until it’s covered on all sides.
Important Note: Remember to hang on to the leftover cinnamon-sugar mixture. You’ll use it again after the crusts are baked.

Then grab a four-inch tartlet pan.
Here are the mini tart pans I use.
I love them because they’re completely non-stick and the bottoms are removable, so the crusts come out perfectly every time.
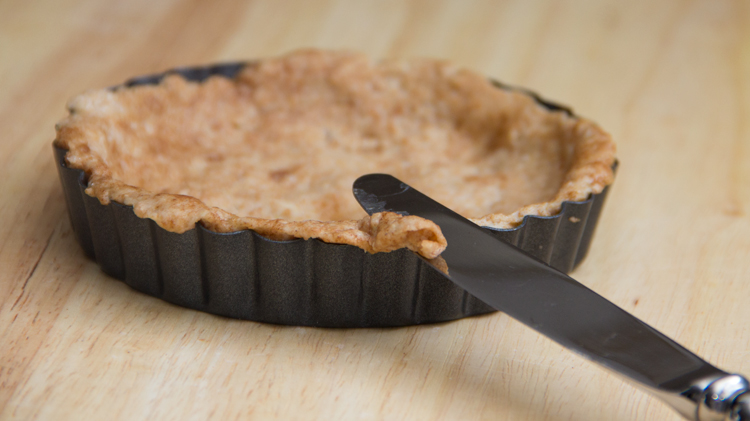
Press the dough along the bottom of the pan and all along the sides until the pan is covered and the crust is about 1/4-inch thick, all around.
Use a small knife to trim any excess dough that rises above the edges of the pan.
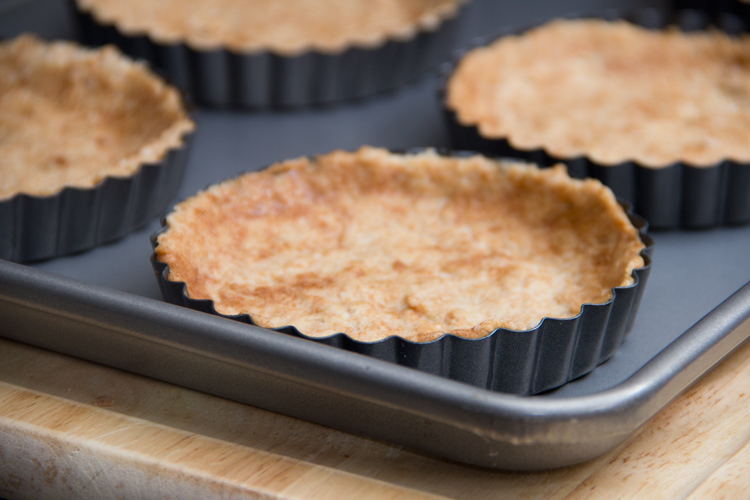
When you’ve filled all the tart pans with dough, place them on a baking sheet and bake them for just about 12 minutes.
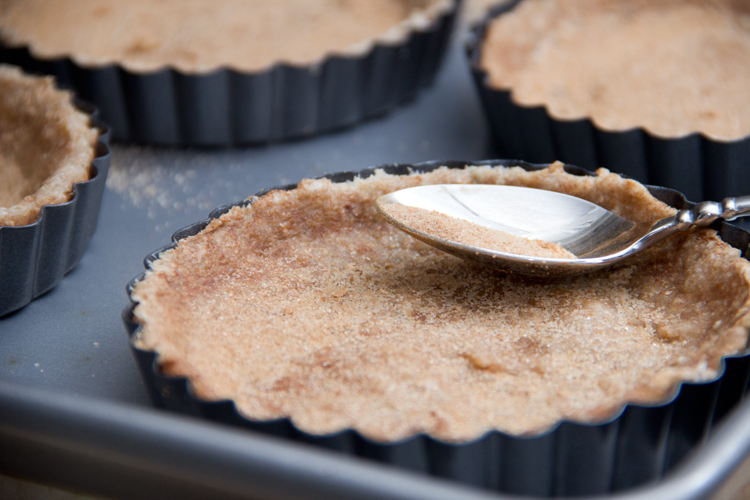
Remove them from the oven and immediately sprinkle the remaining cinnamon-sugar mixture over the top of each crust.
The cinnamon and sugar should melt into the warm, freshly baked dough, adding a little something sweet, cinnamon-y, and special to the crust. Yum!

While the crusts cool on the countertop, begin preparing the apples.
I used Honeycrisp apples for this recipe for a couple reasons: 1) they hold up well when you cook them and 2) they have a lot of natural sweetness, so you won’t need to add a ton of sugar to make them taste like a dessert.
Place an apple right-side-up on a cutting board and quarter it, cutting along each side of the core.

Place a quarter of the apple flat-side-down on the cutting board for stability and cut thin, quarter-inch slices of apple.
Side Note: You can peel the apples if you’d like, but I think the apples taste delicious with the skins on. A lot of nutrients are found in and directly below the skin of the apple, so it’s a healthier option. (Just be sure to use organic apples or wash them thoroughly.) Bonus: no time wasted peeling apples!
Put a bit of canola oil (a heart-healthier alternative to butter) in a sauté pan over medium-low heat.
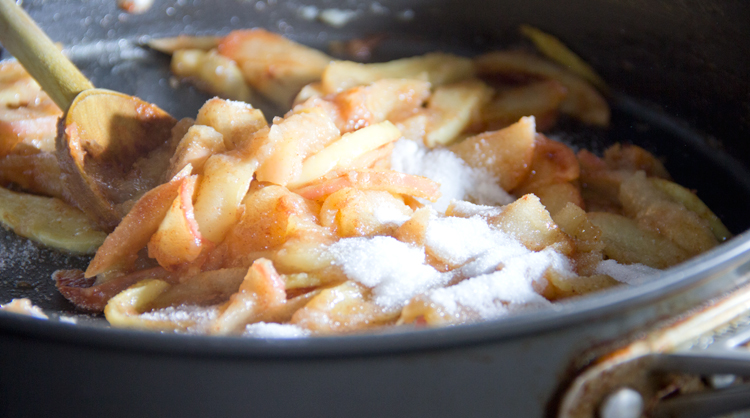
Cook the apples until they’re softened, about 15 minutes.
Reduce the heat to low.
Then, as an alternative to tons of butter, white flour, and sugar, create a “sauce” for the apples by adding the following: some unsweetened applesauce (for flavor and thickness) and some 100% pure maple syrup (for all-natural sweetness).
Pure maple syrup (the only ingredient on the label should be “pure maple syrup”) is a healthier alternative to sugar because it’s unprocessed, all-natural (straight from the sap of maple trees) and full of a wide range of antioxidants that can keep your immune system strong and protect against cancer and heart disease.
Also stir in some healthy cinnamon, ground ginger, and ground nutmeg.
Add a bit of vanilla extract for flavor and a bit of salt to enhance the flavor.
Then add some granulated sugar until you think the apples are sweet enough – you’ll probably find you only need 1/4 to 1/3 cup of sugar to make the apples taste sweet and delicious.
Allow the apple to cool to room temperature.
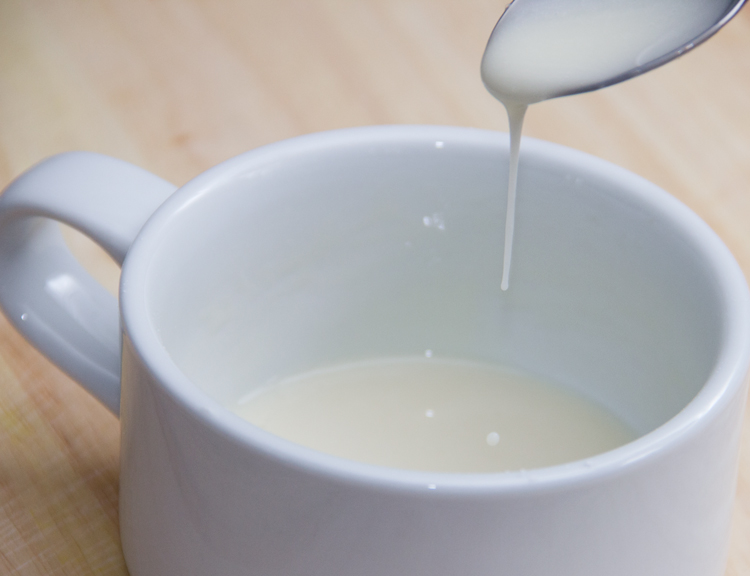
Next grab a mixing bowl and add some plain, low-fat Greek yogurt, some powdered sugar, and some vanilla extract.
Whisk away until you’ve created a smooth and creamy glaze.
If your glaze is too thick: whisk in just a drop (about 1/4 teaspoon) of water.
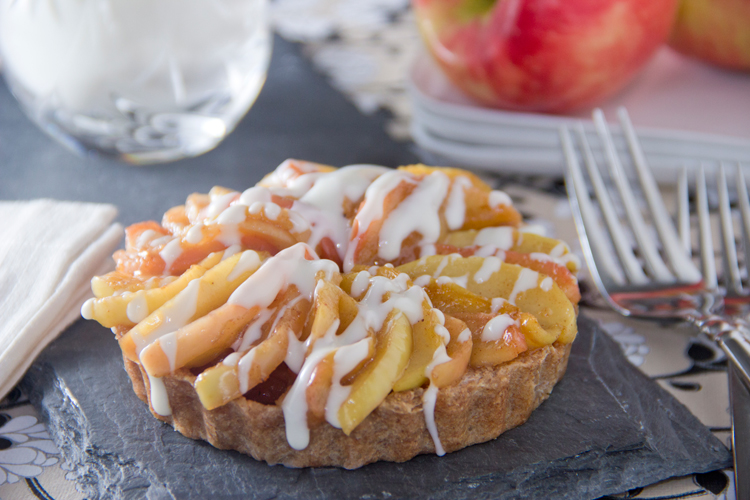
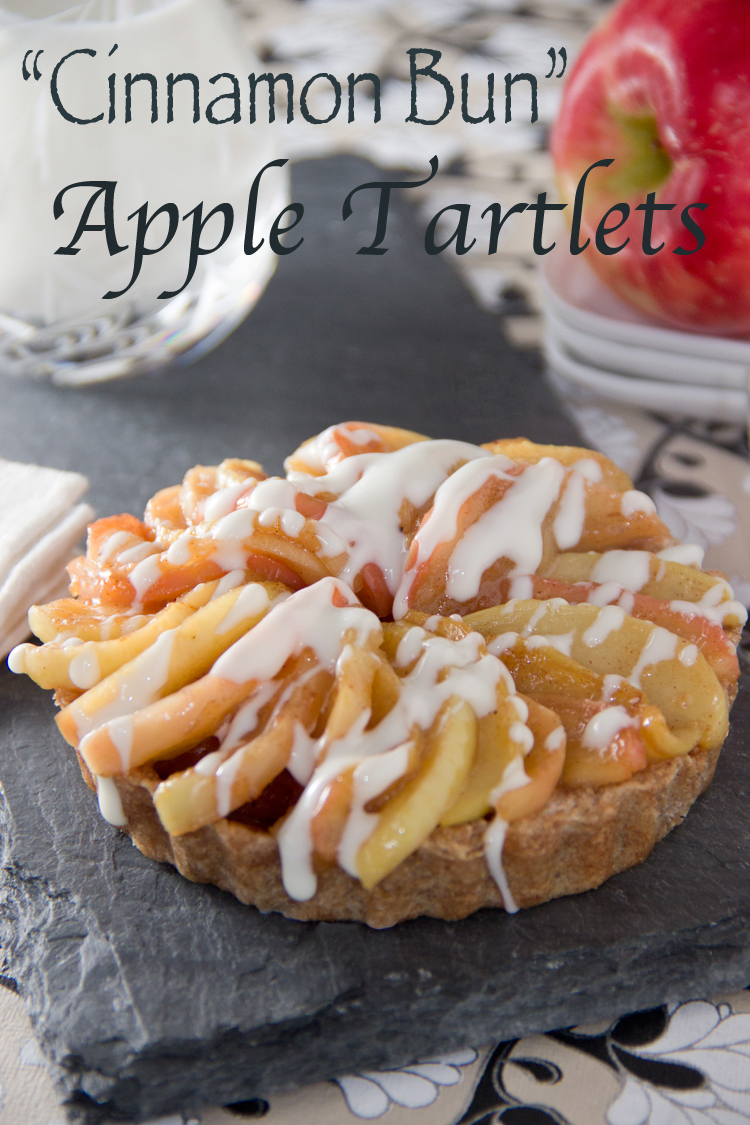
Finally, assemble the tarts.
Remove the cooled crusts from the tart pans and fill each to the brim with the apple mixture.
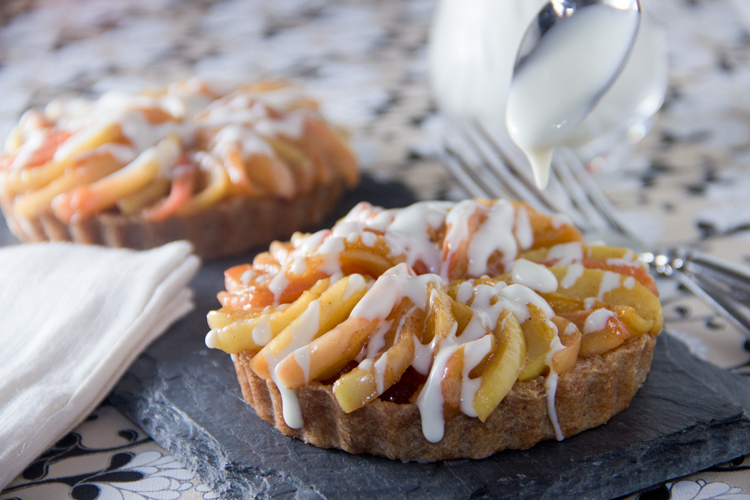
Use a teaspoon to drizzle the sugary glaze over each tart.

This is just my kind of dessert.
There’s a hint of cinnamon and sugar in the crust, which tastes amazing with the sweet, cinnamon-spice apples.
The sugary glaze really takes things over the top, making this a special, holiday-worthy dessert.
True, it’s a healthier dessert, but (unlike my cinnamon buns) I think these apple tartlets will disappear from your countertop in no time flat.
Here is the complete recipe:


These are beautiful and sound delicious! I need to find those tart pans with removable bottoms!
That looks so beautiful and super delicious!
Some of my favourite flavours, love apple and cinnamon combinations. They look sooooo good!
This makes me really really want mini tartlet pans, so cute!
I’m constantly amazed at how you keep your dishes healthy without sacrificing taste! I love that applesauce was your “healthifier” of choice, because I bet it just lends another layer of apple flavor to the dessert! You’d never know from looking at them how much healthier these are than normal tartlets 🙂
You are a genius my friend, what scrumptious tarts 🙂
Cheers
Choc Chip Uru
*drooling* this looks so beautiful- your blog is looking great in general btw!
Oh man, these look SO good. I love the cuteness of tartlets too!
Drooling, these look amazing!
those do look yummy and i like the idea of individual tarts as i find portion size is sometimes an issue.
i was interested to see that you considered maple syrup to be unprocessed since the process for making while not complex does involve a lot of “processing” in terms of boiling down the sap from the tree. do most of the anti-oxidants really survive that boiling? or are they boiled off. I would of thought that they were not very heat stable. and that is certainly not meant to suggest in any way that maple syrup might not be a better alternative than white refined sugar.
YUM! These look so great
It always pains me when I endeavor to make a healthy treat and it turns out all flavorless or by no means edible. Definitely a bummer when that happens, but looks like you easily rectified the situation with these cinnamon bun apple tartlets! They are gorgeous and I love that they’re personal sized! I bet these things are addicting and the drizzle on top really seals the deal!
As a huge fan of cinnamon buns and both apple pie. I’m very excited about this recipe. Great post!
Looks like you really ended up with something amazing! I’d eat this for breakfast, lunch, dinner, and snack! YUMMY!! 🙂
Good for you for keeping at it until came up with a December treat that you were happy with! We’ve got to have those failures to get us to something so delicious as your tarts. What great bites of flavor and definitely scream the holidays!
What a great idea. Lovely post, thank you. And I even have those tins (my favourite too) so will definitely be giving them a go!
This would be great for an Xmas Party!!
These look so pretty! I need to get some of these mini tart pans, because what a great little individual dessert they make.
this looks amazing.. a lot of labor.. you did a really nice job taking pictures of all the steps. A healthy twist on the glaze. 🙂
These look incredible! I made cinnamon sticky buns a few weeks ago and I can’t get them off my mind! Yours look beautiful. I love that there is apple on them too. Makes you feel like it’s not so naughty eh? 😛
I’m drooling (not pretty but I can’t help it!) I think the drizzle on top finished me off! Beautiful x
Wow! These look absolutely scrumptious! I love how many pictures and how detailed your instructions are. I won’t be messing up this recipe! 🙂